
Recon-ng is a Web Reconnaissance framework written by LaNMaSteR53. It is freely available to anyone at LaNMaSteR53 website.Recon-ng works with modules and api’s to seamlessly integrates with databases for storage of results..
Recon-ng has a looks a lot like some of the other frameworks out there, but has some different levels of pentesting at play. If you’re looking to exploit something, you may want to look at metasploit or something else. Recon-ng is for recon…
**Disclaimer : This document should be used as educational material and should not be used on hardware or systems that you do not own or are not authorized in writing to do so on. I take no responsibility for this document or if a monkey beats you in the head with your keyboard while reading it. Its nothing to do with me..
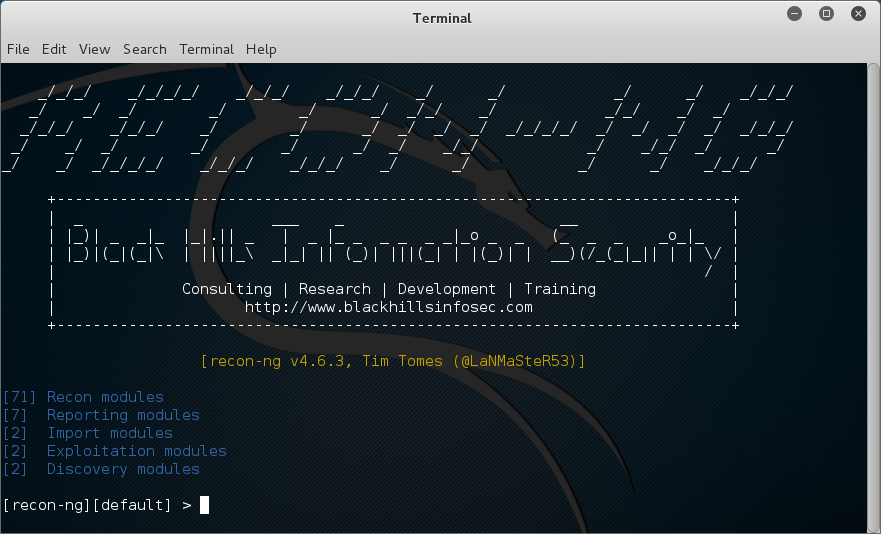
After you install and start recon-ng you will be presented with the following screen.
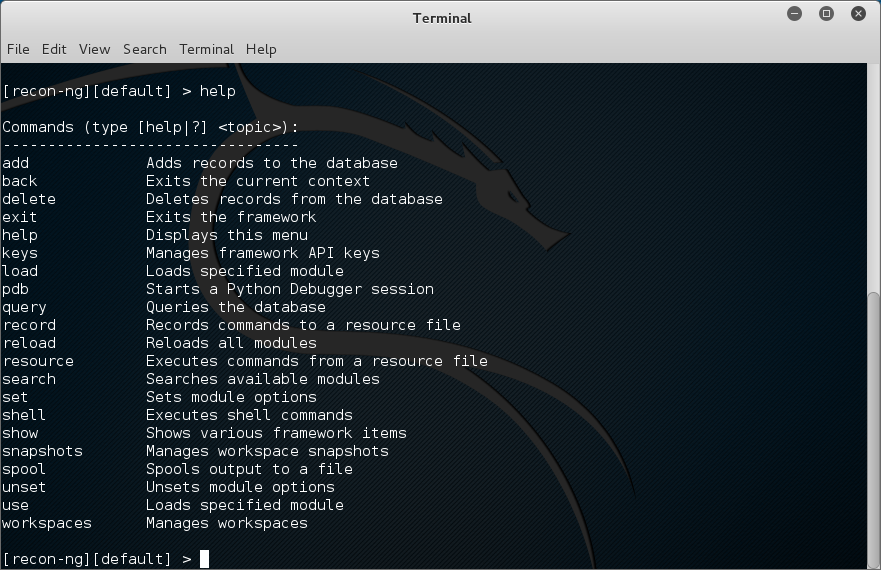
There are a few commands you should know right off the beginning. To see the Help, simply type “help” without the Quotes..
[recon-ng][default] > help
one of the first things that you should do is add a workspace. Workspaces help define the project space. After adding the workspace you can add a domain and a company.
[recon-ng][default] > workspaces add digitalizedwarfare
[recon-ng][digitalizedwarfare] > add domains digitalizedwarfare.com
[recon-ng][digitalizedwarfare] > add companies
company (TEXT): Digitalized Warfare
description (TEXT): Some Recon going on!
[recon-ng][digitalizedwarfare] >
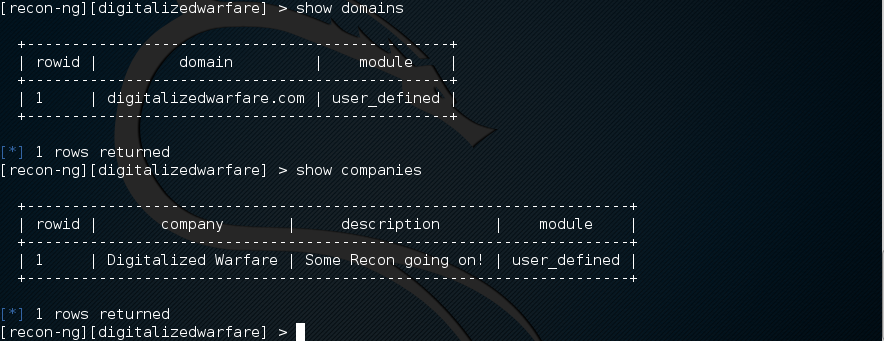
to see the domains and the companies that you just added, use the “show” command.
Recong-ng uses API’s to get additional information. API Keys will tie recon-ng into other services to increase its searchability. There is a very good list at the authors website here.
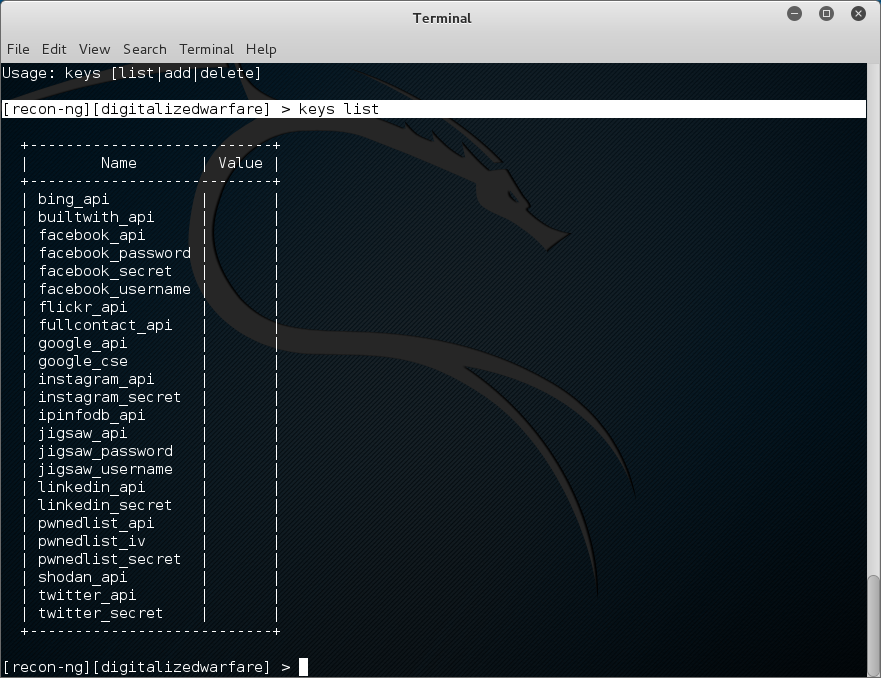
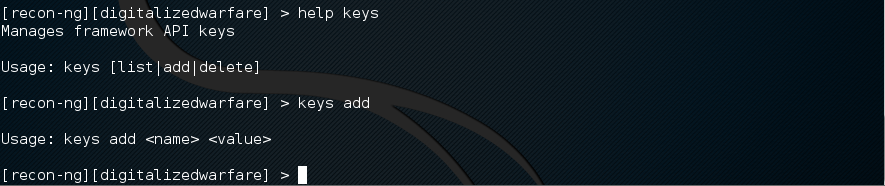
To see the syntax and what options are there use the help command.
[recon-ng][digitalizedwarfare] > help keys
Next we will load modules to make our recon more interesting. To see a list of modules use the command below.
[recon-ng][digitalizedwarfare] > show modules
I prefer to look at the website to research modules. I feel it lays them out in ways that are easy to see.
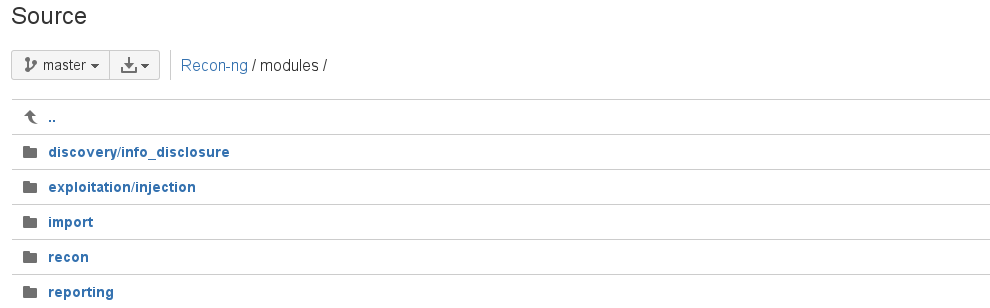
Another way to find modules is to use the search feature. Here is the description from the website.
The “search” command provides the capability to search the names of all loaded modules and present the matches to the user. The “search” command can be very helpful in determining what to do next with the information that has been harvested, or identifying what is required to get the desired information. The “recon” branch of the module tree follows the following path structure:
recon/<input table>-<output table>/<module>. This provides simplicity in determining what module is available for the action the user wants to take next. To see all of the modules which accept a domain as input, search for the input table name “domains” followed by a dash:search domains-. To see all of the modules which result in harvested hosts, search for the output table name “hosts” with a preceding dash:search -hosts.- LaNMaSteR53
Use this command to search for twitter.
[recon-ng][digitalizedwarfare] > search twitter

When you have found a module that you want to use, you will have to “load” it into recon-ng. Lets load the twitter module.
[recon-ng][digitalizedwarfare] > use recon/profiles-profiles/twitter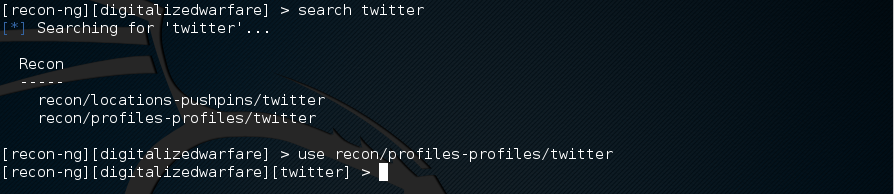
now we need to set a the source option. This will tell the module what twitter name to search for.
[recon-ng][digitalizedwarfare][twitter] > set source DigiWarfare

Now that we have selected the account name to search for, we need to record the output to a report file. We are going to run our twitter search and save it to twitter-spool.txt Use the following command to view the help and start the spool. The file will be created in /usr/share/recon-ng/twitter-spool.txt
A recorded session of all activity is essential for many penetration testers, but built-in OS tools like “tee” and “script” break needed functionality, like tab completion, and muck with output formatting. To solve this dilemma, the framework is equipped with the ability to spool all activity to a file for safe keeping. The “spool” command gives users the ability to start and stop spooling, or check the current spooling status. The destination file for the spooled data is set as a parameter of the “spool start” command,
spool start <filename>. Usehelp spoolfor more information on the “spool” command. – LaNMaSteR53
[recon-ng][digitalizedwarfare][twitter] > help spool

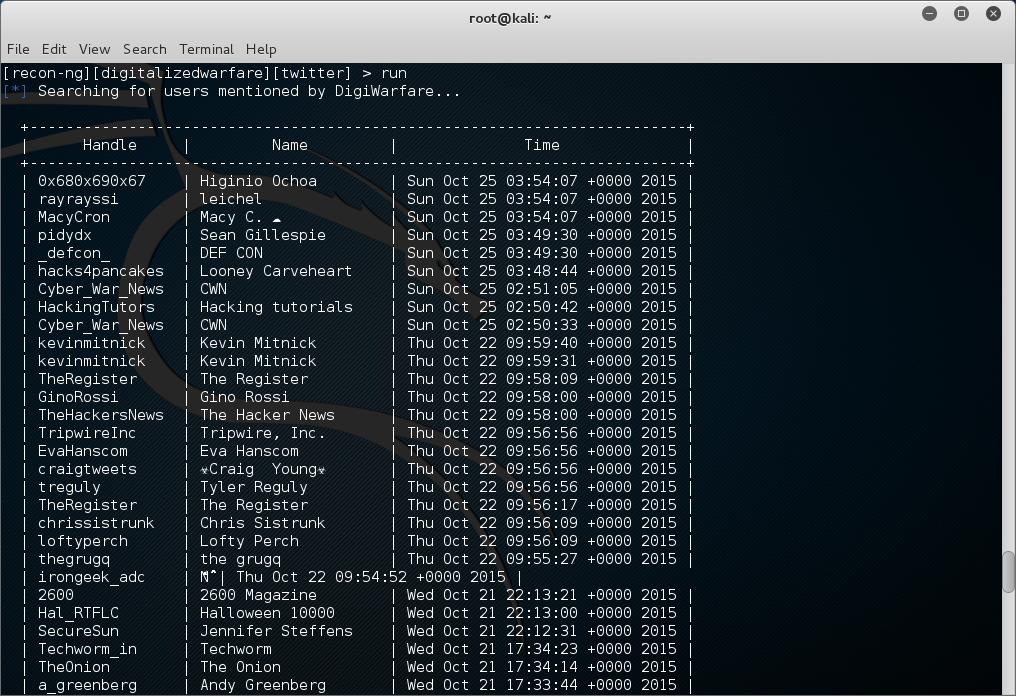
Now that our spool is started lets run the search by typing run and pressing enter
[recon-ng][digitalizedwarfare][twitter] > run
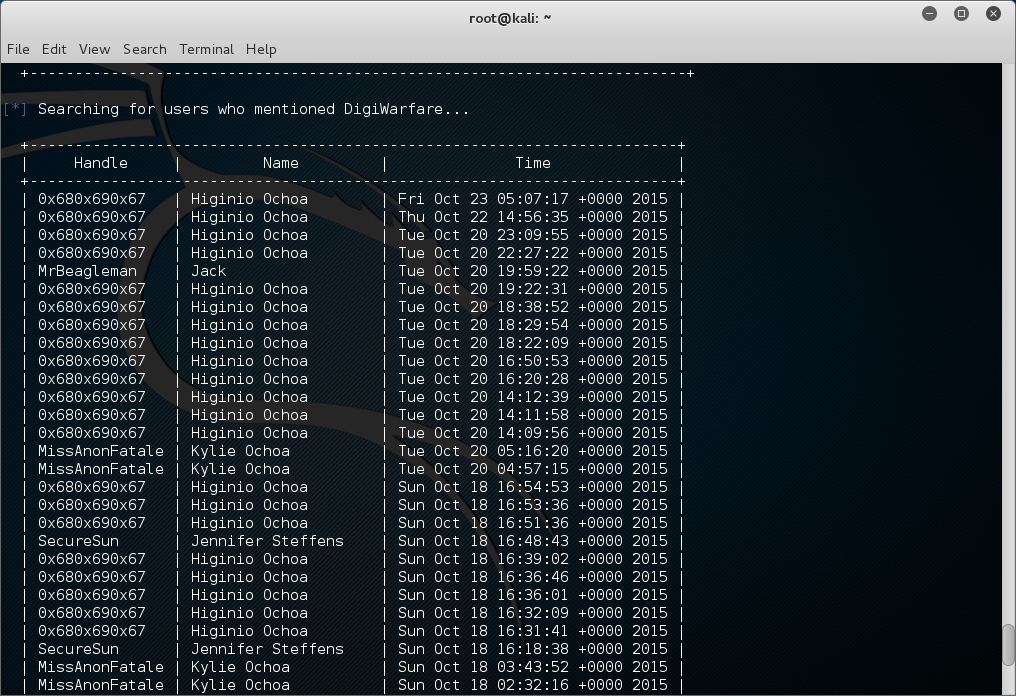
Here are some users i have mentioned….
Now who mentioned me….
We can stop the spool now
[recon-ng][digitalizedwarfare][twitter] > spool stop
[*] Spooling stopped. Output saved to ‘twitter-spool.txt’.
Now lets look in the spool file.
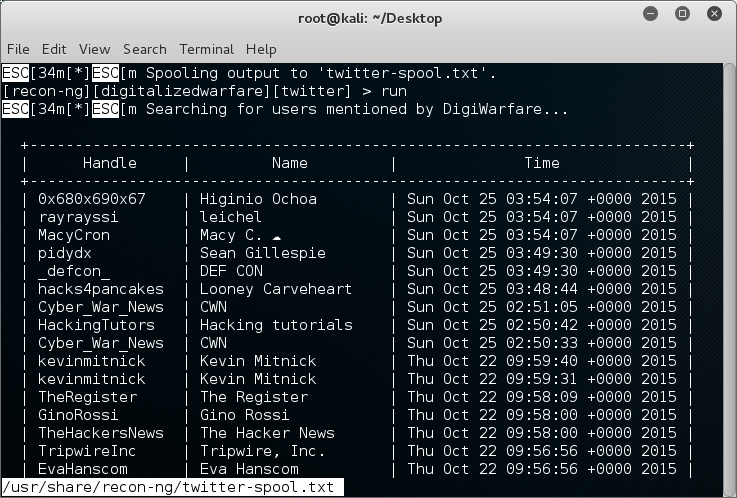
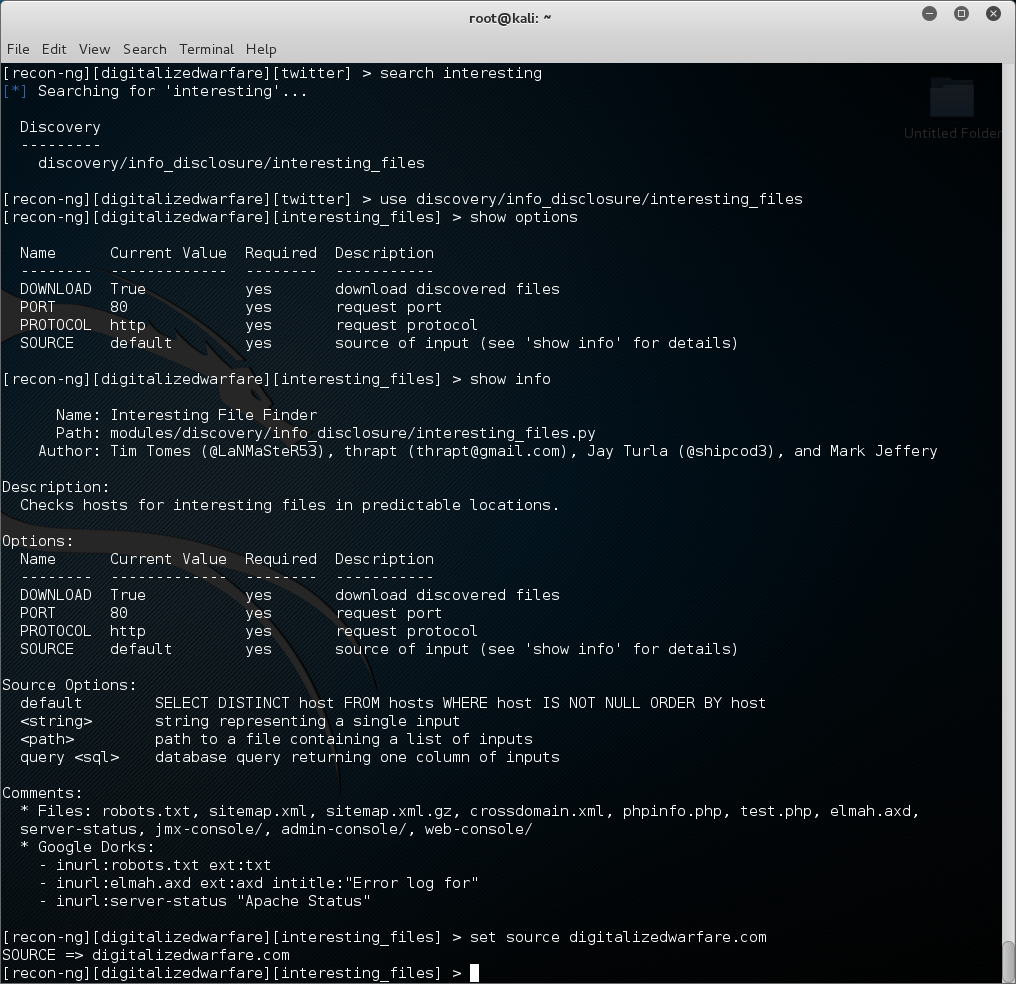
as you can see it is the output of our twitter search. Now lets take a look at a website. We are going to use recon-ng to look for files on the domain that we may want access to. So lets see what modules are avivible to us in recong-ng that match the word interesting.. We see that there is 1 module. Lets load it and show the options.
[recon-ng][digitalizedwarfare][twitter] > use discovery/info_disclosure/interesting_files
[recon-ng][digitalizedwarfare][interesting_files] > show options
if we use the command “show info” we will see we have to put a domain name in the source field.
now type run and hit enter to search the site. here is the output of mine.
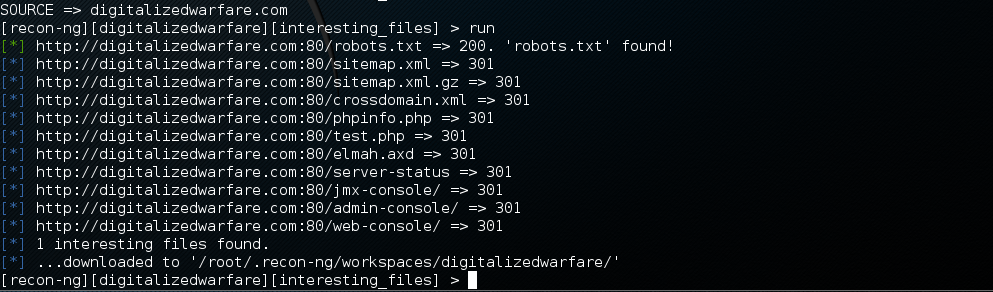
So in scanning the site, it has found 1 file of interest and downloaded it into the /root/.recon-ng/workspaces/digitalizedwarfare/ folder.
Looking in this folder shows the http_digitalizedwarfare.com_robot.txt file.

Lets look at this file

this is the wordpress standard robot.txt file. We like to see this files because when we think that the user doesn’t want a search engine to index certain areas of the website, we might want to look at those places.
There are many modules included in recon-ng. Look at each modules and experiment with it. You can change or modify any modules or create your own. Ill write more later on this topic.


0 comments